Zum Inhalt
[JAC] Central

● Makrofotografie · NeuMacro photography · New

Ganz nah
dran
Get up
close

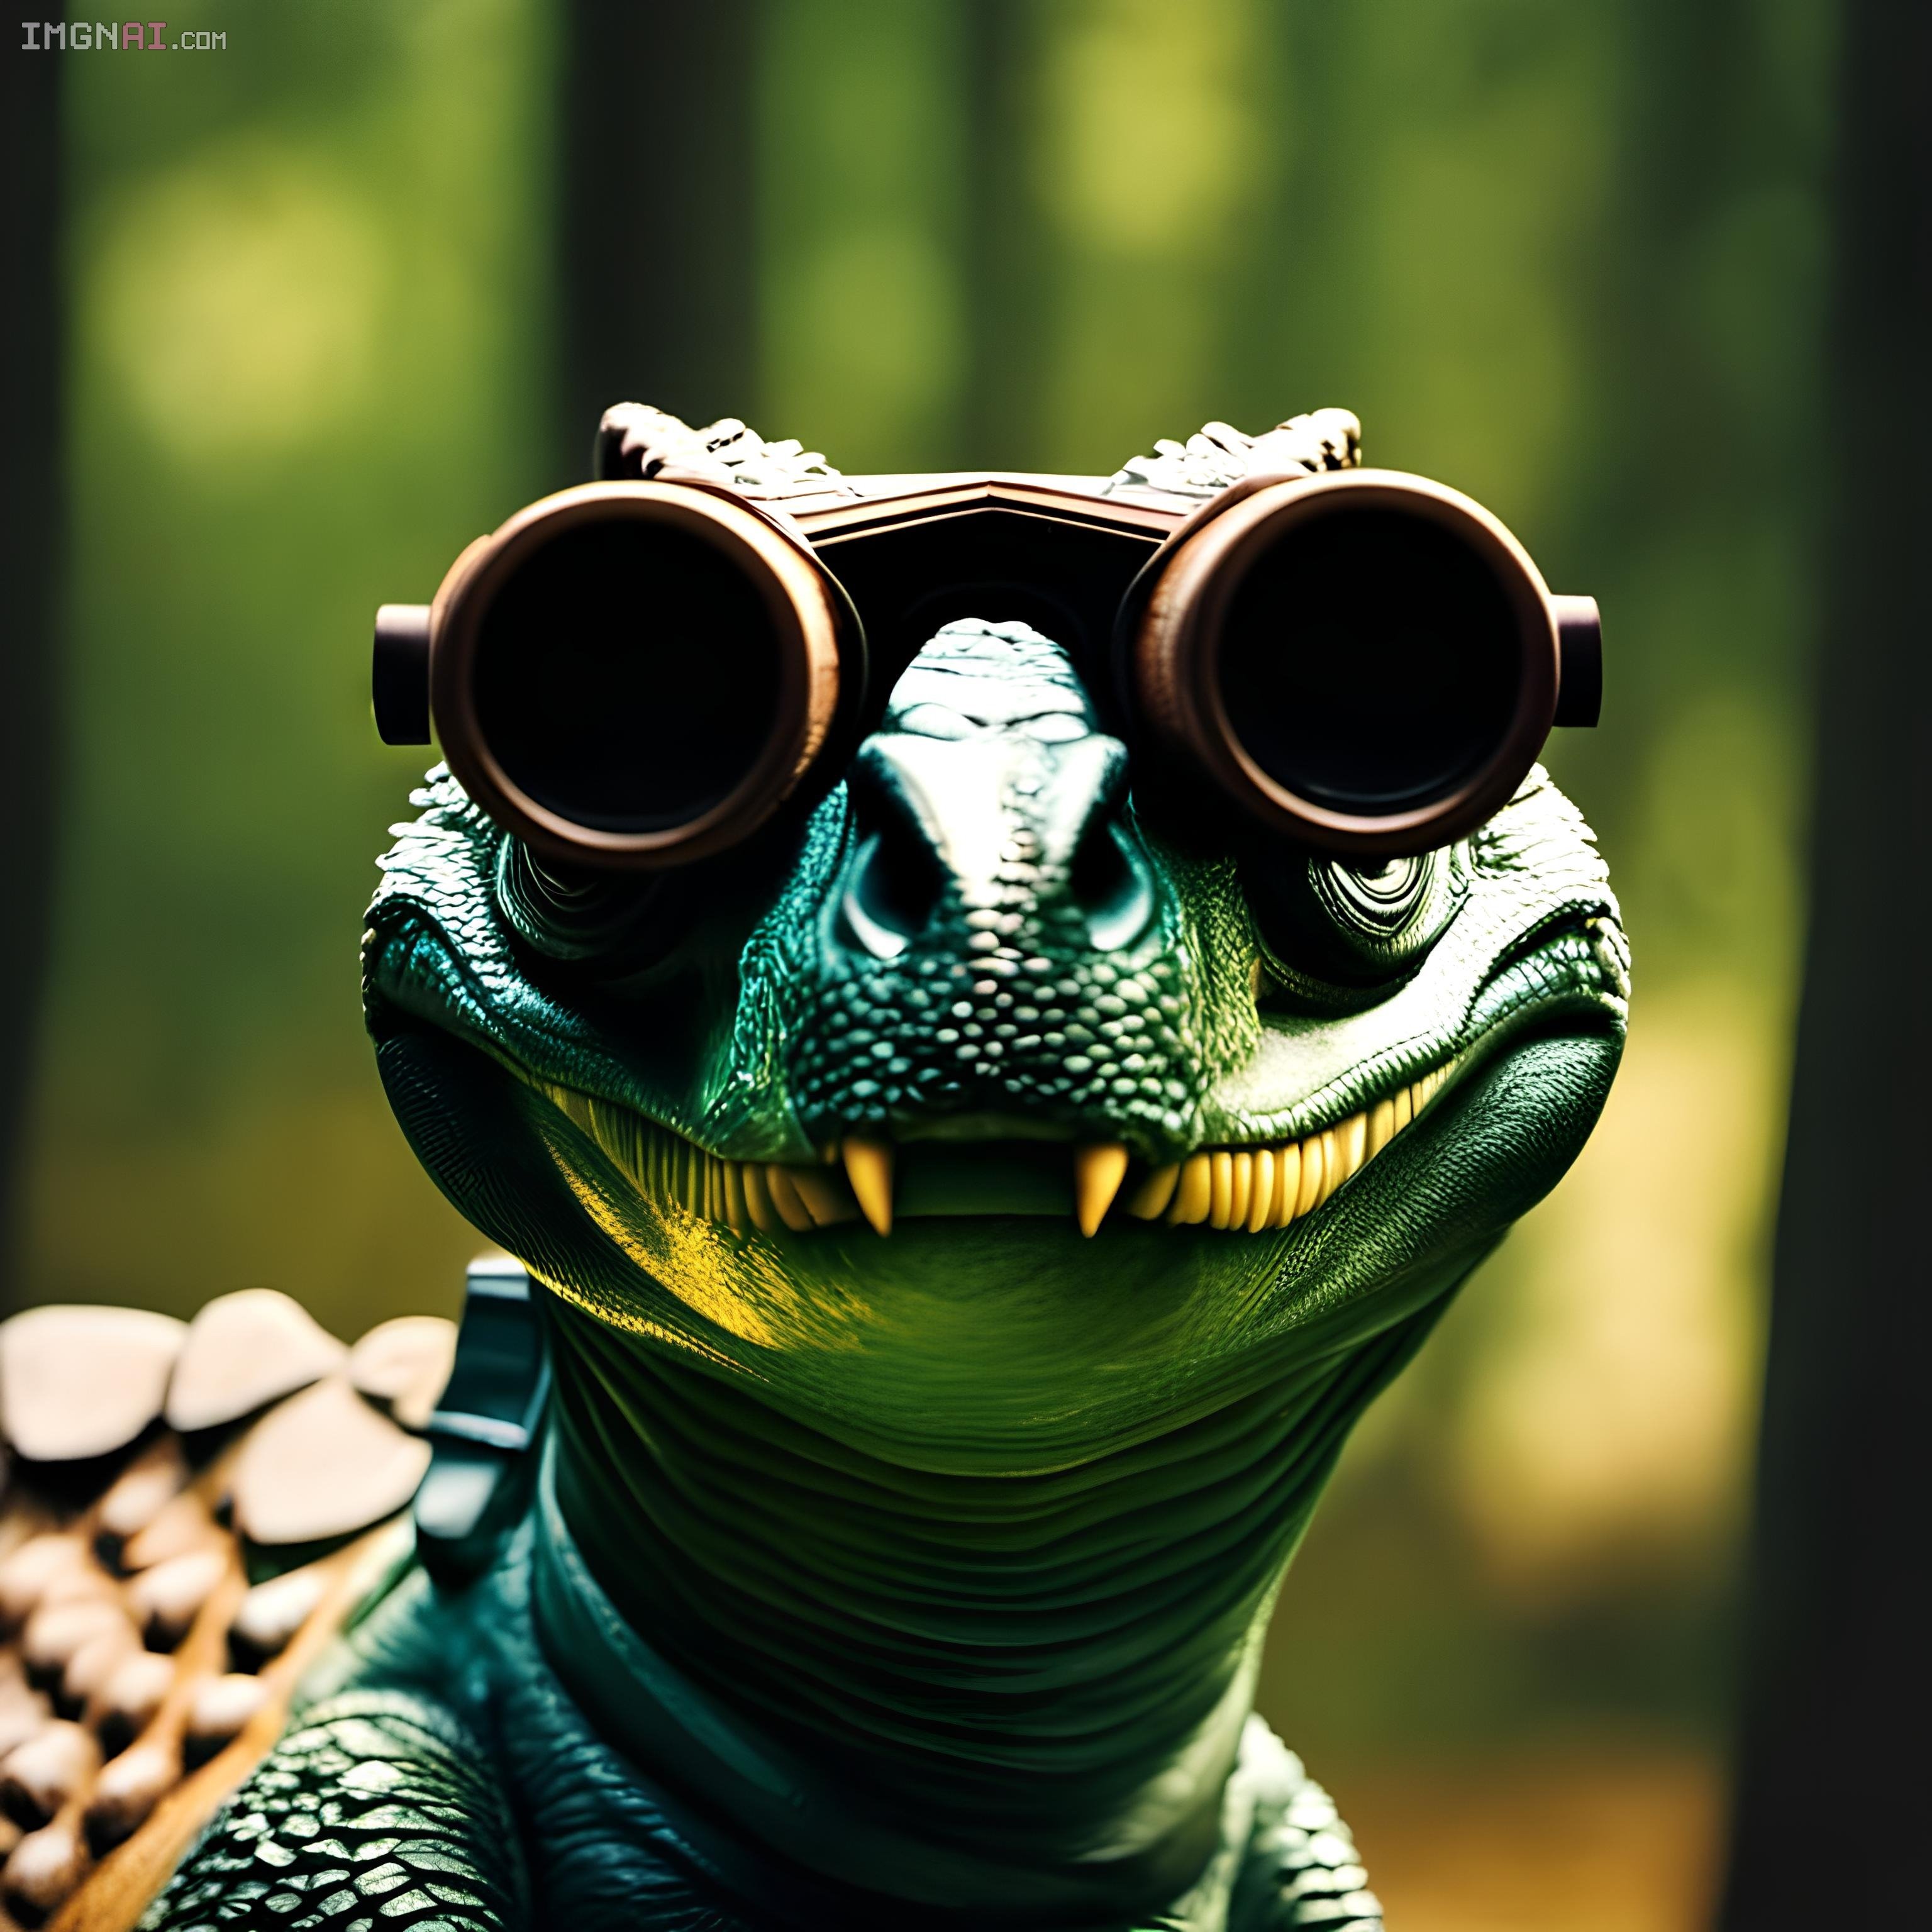
Makrofotografie macht das Kleine groß: Schuppen, Facetten, Tautropfen, Zähne. Probier es gleich im Simulator aus – hol unser Testmodell Stück für Stück heran und sieh, welche Ausrüstung bei welcher Vergrößerung ins Spiel kommt.

Macro photography makes the small look big: scales, facets, dew drops, teeth. Try it right away in the simulator – bring our test model closer step by step and see which gear comes into play at which magnification.

Ziehen verschiebt das Bild, Doppelklick zoomt hinein. Ein einfacher Klick setzt den Fokuspunkt (wichtig für die Schärfentiefe). Mit Tastatur: Pfeile, + und −.

Drag to pan, double-click to zoom in. A single click sets the focus point (important for depth of field). Keyboard: arrows, + and −.

Hinweis: Der Abbildungsmaßstab im Simulator ist eine anschauliche Annahme, keine Messung. Die Sichtfeld-Angabe gilt für einen Vollformat-Sensor (36 mm Breite).

Note: the reproduction ratio in the simulator is an illustrative assumption, not a measurement. The field value refers to a full-frame sensor (36 mm wide).

Welche Ausrüstung?Which gear?

NahbereichClose range< 1:3

Noch keine echte Makrofotografie. Jedes Standardobjektiv mit kurzer Naheinstellgrenze reicht, ein Stativ ist optional.

Not true macro yet. Any standard lens with a short minimum focus distance will do, a tripod is optional.

NahaufnahmeClose-up1:3 – 1:2

Nahlinse (Vorsatz) oder Zwischenring am Standardobjektiv, oder ein Objektiv mit Makro-Bezeichnung. Ein Stativ hilft schon spürbar.

A close-up filter or an extension tube on a standard lens, or a lens labelled “macro”. A tripod already helps noticeably.

Makro-BereichMacro range1:2 – 1:1

Makro-Objektiv oder Zwischenringe. Die Schärfentiefe schrumpft auf wenige Millimeter: Stativ, manueller Fokus und ein Diffusor fürs Licht lohnen sich.

Macro lens or extension tubes. Depth of field shrinks to a few millimetres: a tripod, manual focus and a diffuser for the light pay off.

Echtes MakroTrue macro≈ 1:1

Makro-Objektiv mit 1:1 (zum Beispiel 60–105 mm), stabiles Stativ mit Einstellschlitten, Fernauslöser und ein Ringblitz oder Diffusor mit Blitz/LED.

A 1:1 macro lens (for example 60–105 mm), a sturdy tripod with a focusing rail, a remote release and a ring flash or a diffuser with flash/LED.

SupermakroSuper macro> 1:1

Zwischenringe oder Balgen am Makro-Objektiv, Umkehrring oder Mikroskop-Objektiv. Schärfentiefe unter einem Millimeter: Fokus-Stacking mit Einstellschlitten ist hier praktisch Pflicht, dazu viel Licht und eine erschütterungsfreie Umgebung.

Extension tubes or bellows on a macro lens, a reversing ring or a microscope objective. Depth of field under a millimetre: focus stacking with a focusing rail is practically a must, plus lots of light and a vibration-free setup.

● GrundlagenBasics

Was heißt Makro?What does macro mean?

Entscheidend ist der Abbildungsmaßstab: das Verhältnis zwischen der Größe, die ein Motiv auf dem Sensor abbildet, und seiner echten Größe. Bei 1:1 ist ein 10 mm großer Käfer auch genau 10 mm groß auf dem Sensor – bei einem Vollformat-Sensor (36 mm breit) füllt er dann gut ein Viertel der Bildbreite.

What matters is the reproduction ratio: the size a subject has on the sensor compared to its real size. At 1:1 a 10 mm beetle is exactly 10 mm on the sensor – on a full-frame sensor (36 mm wide) it fills a good quarter of the frame width.

Im Alltag nennt man vieles „Makro“. Klassisch spricht man ab 1:1 von echter Makrofotografie, alles darüber von Supermakro. Je näher du kommst, desto dünner wird die Schärfentiefe – deshalb ist die Technik so anspruchsvoll und so reizvoll.

In everyday talk many things are called “macro”. Classically, true macro starts at 1:1, anything beyond is super macro. The closer you get, the thinner the depth of field becomes – which is why the technique is so demanding and so rewarding.

1 : 1

Motiv und Sensorabbild sind gleich groß.

Subject and sensor image are the same size.

  • 1:10Normale Aufnahme, Motiv klein im BildNormal shot, subject small in frame
  • 1:4Nahaufnahme, zum Beispiel BlüteClose-up, for example a flower
  • 1:2Makro-Bereich beginntMacro range begins
  • 1:1Echtes Makro (Sensor = Motivgröße)True macro (sensor = subject size)
  • 2:1+Supermakro, Facettenaugen & Co.Super macro, compound eyes & more

● AusrüstungGear

Was du brauchstWhat you need

01

ObjektivLens

Ein Makro-Objektiv (oft 60, 90 oder 105 mm) erreicht meist 1:1. Je länger die Brennweite, desto größer der Arbeitsabstand – wichtig bei scheuen Insekten.

A macro lens (often 60, 90 or 105 mm) usually reaches 1:1. The longer the focal length, the larger the working distance – important for shy insects.

02

ZwischenringeExtension tubes

Hohle Ringe ohne Glas zwischen Kamera und Objektiv. Sie holen jedes Objektiv näher heran, kosten aber Licht, und der Autofokus kann je nach Modell eingeschränkt sein. Günstiger Einstieg.

Hollow rings without glass between camera and lens. They let any lens focus closer but cost light, and autofocus may be limited depending on the model. An affordable way in.

03

StativTripod

Bei starker Vergrößerung wird jede Bewegung mit vergrößert. Ein stabiles Stativ, ein Fernauslöser (oder Selbstauslöser) und bei Bedarf ein Einstellschlitten für feine Fokusschritte helfen enorm.

At high magnification every movement is magnified, too. A sturdy tripod, a remote release (or self-timer) and, if needed, a focusing rail for fine focus steps help enormously.

04

LichtLight

Wegen kleiner Blenden und kurzer Belichtung brauchst du oft mehr Licht: Diffusor, Ringblitz, Dauerlicht (LED) oder ein einfacher Reflektor. Weiches Licht vermeidet harte Reflexe auf glänzenden Schuppen.

With small apertures and short exposures you often need more light: a diffuser, ring flash, continuous LED or a simple reflector. Soft light avoids harsh glare on shiny scales.

● EinsteigerBeginners

Einfache TippsSimple tips

  1. Manuell fokussieren. Der Autofokus pendelt bei Makro oft. Besser: Fokus fest einstellen und die Kamera leicht vor- oder zurückbewegen.Focus manually. Autofocus often hunts in macro. Better: fix the focus and move the camera slightly forward or back.
  2. Blende f/8 bis f/11. Mehr Schärfentiefe, ohne dass Beugung das Bild weich macht (ab etwa f/16 wird es deutlich weicher).Aperture f/8 to f/11. More depth of field without diffraction softening the image (it gets noticeably softer from about f/16).
  3. Ruhig bleiben. Stativ, Fernauslöser oder Selbstauslöser nutzen. Wind ist der größte Feind bei Pflanzen – morgens ist es oft windstill.Keep it steady. Use a tripod and a remote release or self-timer. Wind is the biggest enemy with plants – mornings are often calm.
  4. Früh raus. Insekten sind morgens kühl und träge, und mit Tau sieht alles besonders aus.Get up early. Insects are cool and sluggish in the morning, and dew makes everything look special.
  5. Fokus auf das Auge. Bei Tieren muss das Auge scharf sein, der Rest darf weich auslaufen.Focus on the eye. With animals the eye has to be sharp, the rest may fall off softly.
  6. Hintergrund prüfen. Ein ruhiger, weit entfernter Hintergrund ergibt cremige Unschärfe – wie im Waldhintergrund unseres Testbilds.Check the background. A calm, distant background gives creamy blur – like the forest behind our test image.
  7. Fokus-Stacking probieren. Mehrere Aufnahmen mit leicht verschobenem Fokus werden am PC zu einem durchgehend scharfen Bild verrechnet.Try focus stacking. Several shots with slightly shifted focus are blended on the PC into one image that is sharp throughout.
  8. Niedrige ISO. Mit Stativ kannst du lange belichten und ISO niedrig halten – das gibt feine Details ohne Rauschen.Low ISO. With a tripod you can expose longer and keep ISO low – that gives fine detail without noise.